Decking Auckland: A Local Guide to Smarter Outdoor Design
In Auckland, where outdoor spaces are integral to daily life, a well-designed deck can transform the way we live, entertain, and enjoy our backyards.
This blog explores everything you need to know about decking in Auckland, from material choices and climate considerations to council regulations and sustainable landscaping approaches.
Why Decking is So Popular in Auckland
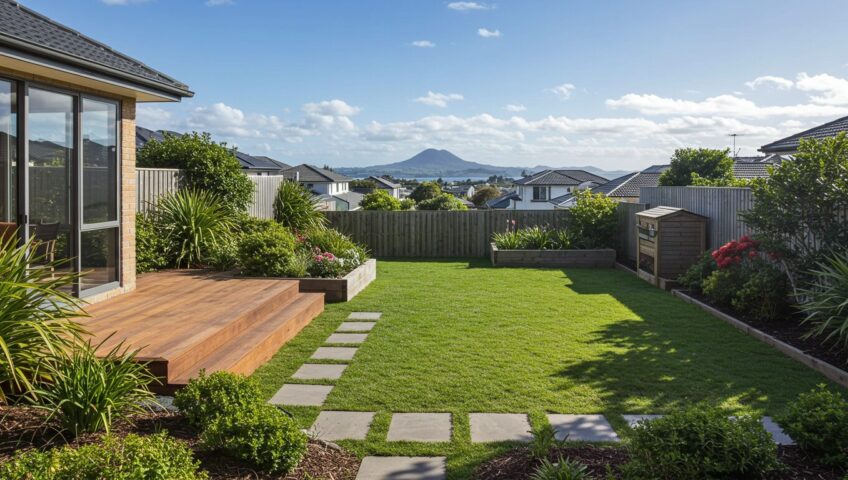
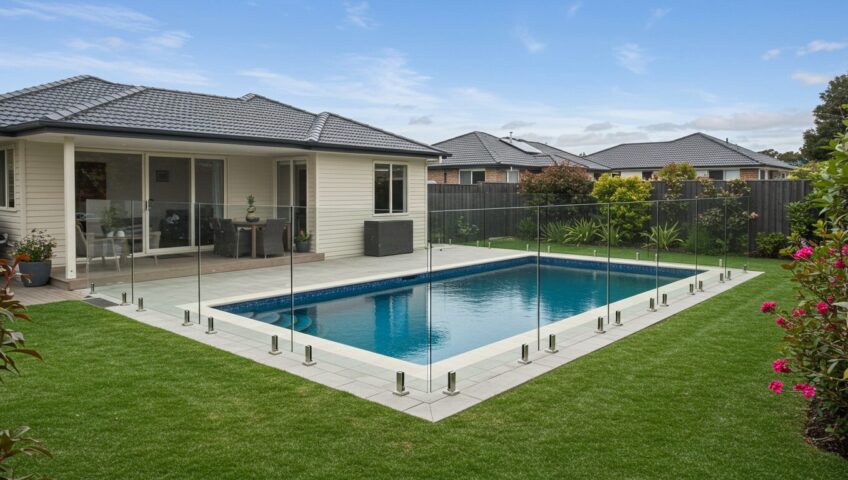
Auckland’s mild climate, paired with its strong culture of outdoor living, makes decking a natural choice for local homeowners. Whether it’s soaking up the sun in summer or hosting a casual barbecue, a deck provides flexibility and flow between indoor and outdoor living areas.
Unlike patios or paved courtyards, decking can be built higher to make the most of views, handle sloping land, or work around uneven ground. These challenges are especially common in many Auckland neighbourhoods.
Best Decking Materials for Auckland Conditions
Auckland’s weather is humid, often rainy, and subject to salt-laden winds near the coast. This means not all decking materials perform equally. Here’s what works best:
Hardwood Timber (Kwila, Vitex, Garapa)
- Hardwood timbers like Kwila, Vitex, and Garapa are durable, moisture-resistant, and give a classic look.
Composite Decking
- Composite decking is low-maintenance and resists rot, warping, and fading. This makes it ideal for Auckland weather.
Pine (H3/H4 Treated)
- Treated pine is affordable and readily available but needs regular upkeep to last.
Tip: Always check the timber's origin and certifications. Sustainable forestry practices are becoming more important to Auckland homeowners.
Design Considerations: Making the Most of Your Space
Every backyard is different. In Auckland, section sizes vary dramatically—from tight city plots to sprawling lifestyle blocks. A few key design principles apply:
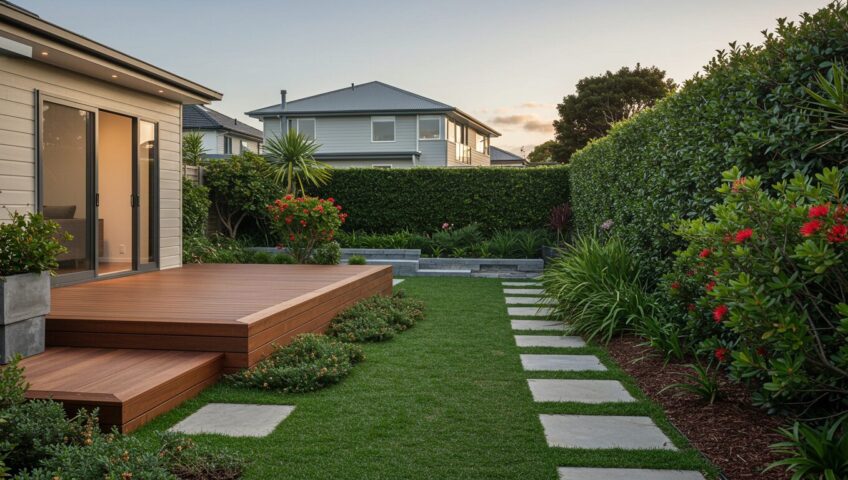
- Multi-Level Decks: Popular in sloped areas like the Waitākere Ranges or St Heliers, these decks create usable zones on tricky land.
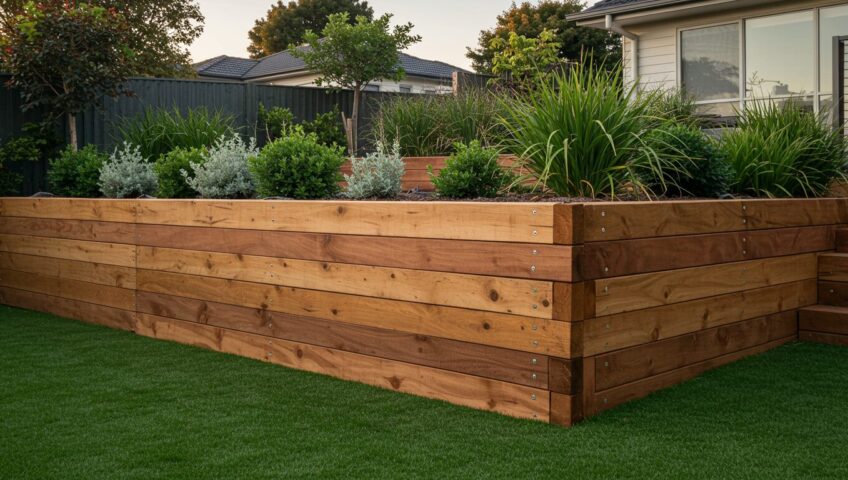
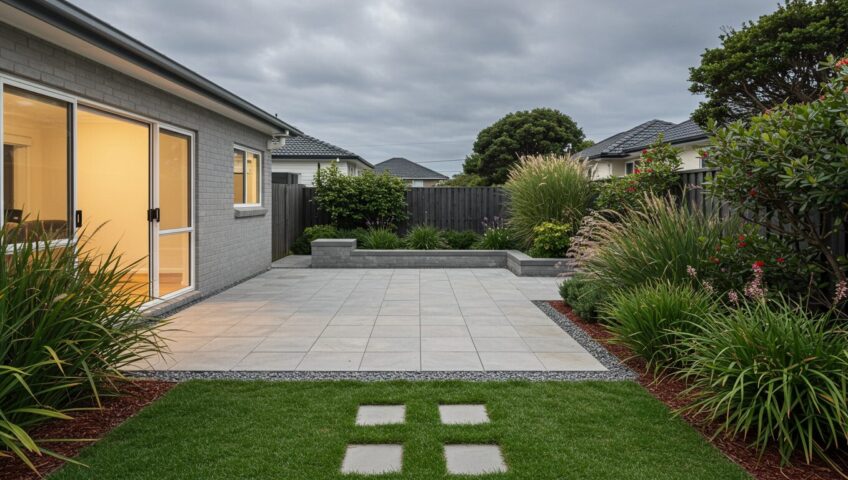
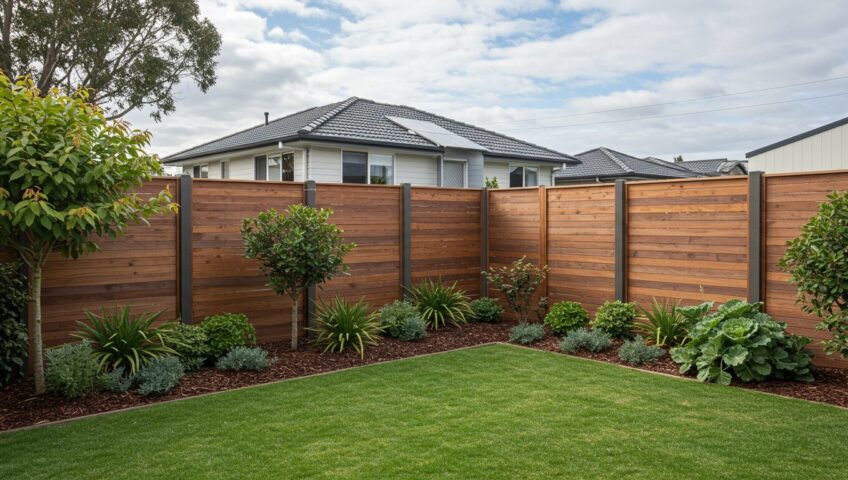
- Integration with Landscaping: Planting native shrubs or creating built-in seating helps the deck feel like part of the environment.
- Shelter Options: Pergolas or retractable awnings offer relief from Auckland’s sudden showers and strong sun.
Remember to plan for drainage. With Auckland's regular rainfall, decks need to be designed to handle water runoff, especially if they are close to the house.
Not all decking projects require building consent in Auckland, but it’s vital to understand the rules. Here’s a simplified guide:
- No Consent Needed:
-
- Decks under 1.5m high
- Decks that are not within 1.5m of a boundary
- Non-structural platforms that don’t affect the house
- Consent Likely Required:
-
- Elevated decks over 1.5m
- Decks close to boundaries or with safety risks
- If the deck connects to stormwater systems
Check directly with Auckland Council’s building portal or consult with a landscaping professional familiar with local compliance.
Sustainability and Local Planting Around Decks
Aucklanders are increasingly eco-conscious. When designing your deck, consider:
- Using FSC-certified timber
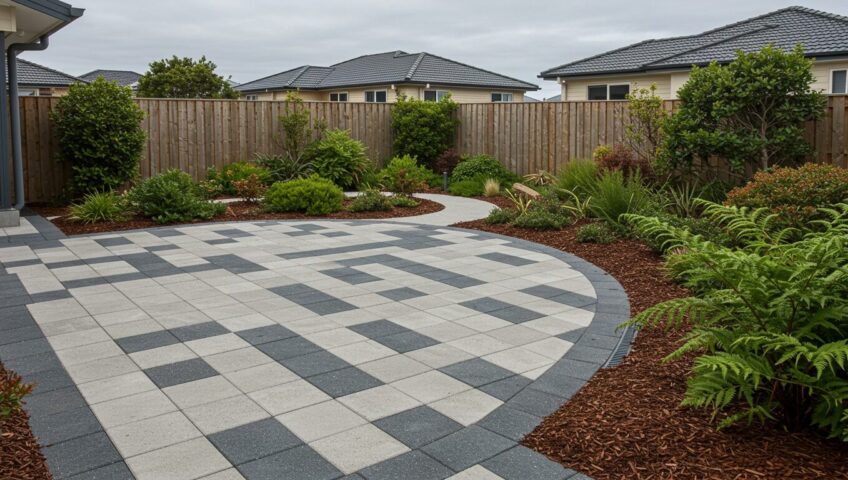
- Incorporating rain gardens or swales for water runoff
- Planting native species like manuka, flax, or koromiko around your deck
These not only support biodiversity but can reduce maintenance and help with stormwater management.
Final Thoughts on Decking in Auckland
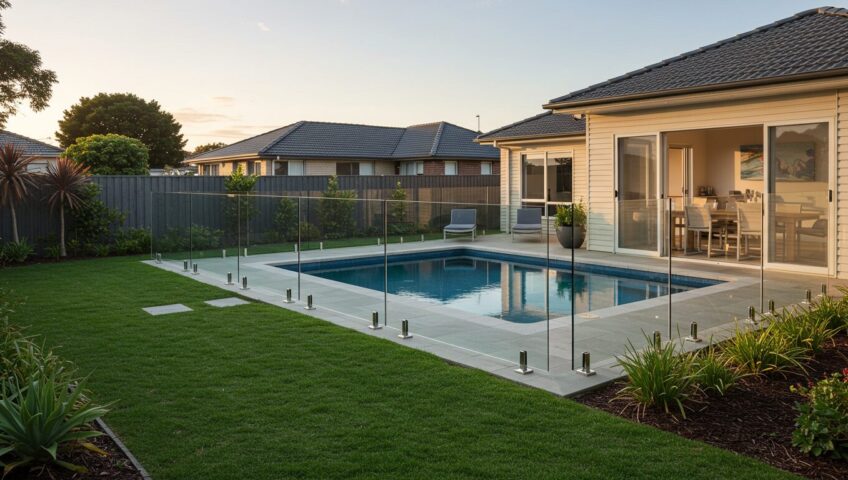
Decking in Auckland is about more than just looks; it’s about how you live. A well-planned deck considers the climate, site, and local rules, but it also matches how you want to use your outdoor space. Whether you live in coastal Orewa, urban Mt Eden, or a leafy hillside suburb, a deck can connect you with nature while adding comfort to your home. With good design and sustainable choices, your Auckland deck can add lasting value to both your home and your lifestyle.