Everything You Need to Know About Landscaping in Auckland
Landscaping in Auckland offers unique opportunities thanks to the region’s subtropical climate, diverse terrain, and coastal influences. Whether you're upgrading a small backyard or planning a full-scale garden renovation, understanding local conditions is key to a successful and sustainable landscape design.
This guide explores key considerations for landscaping in Auckland, including plant selection, climate factors, design trends, and answers to common local questions helping readers create outdoor spaces that thrive year-round.
Why Landscaping in Auckland is Unique
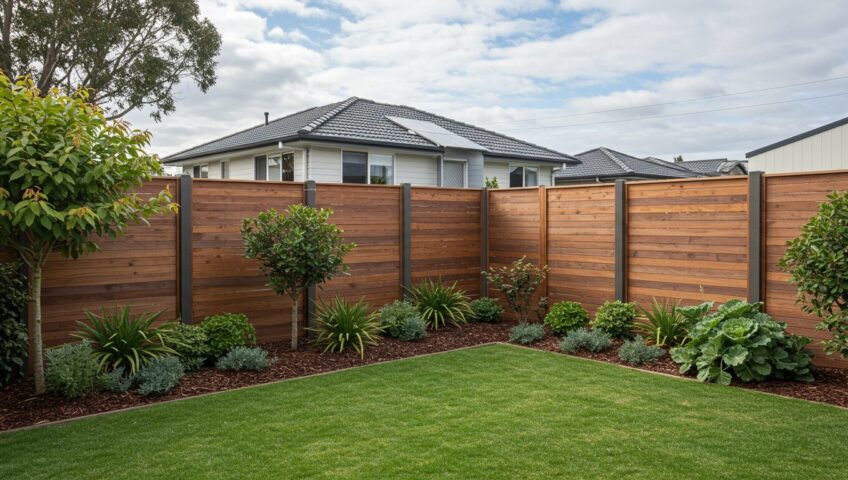
Auckland's climate, characterised by warm, humid summers and mild, wet winters, makes it an ideal location for year-round gardening. However, this climate also demands strategic planning. Clay-heavy soils, salt-laden winds in coastal zones, and varying sun exposure all influence how well a landscape will perform.
With careful design, it is possible to create a garden that is both functional and visually appealing—tailored to the microclimate of each suburb, from Remuera and Henderson to the North Shore.
Best Plants for Auckland Landscapes
Selecting appropriate plants ensures lasting success in Auckland's environment. Native and drought-tolerant varieties suit local conditions best due to their resilience and minimal maintenance requirements.
Top plant picks:
Griselinia littoralis—excellent for hedges and coastal areas.
Pōhutukawa – Iconic coastal tree, perfect for large sections
Harakeke (Flax) – Adds texture and supports native wildlife
Kōwhai – Attracts tūī and provides spring colour
Lomandra longifolia – Hardy, low-maintenance ground cover
These selections are adapted to Auckland, requiring less water and minimal chemical inputs.
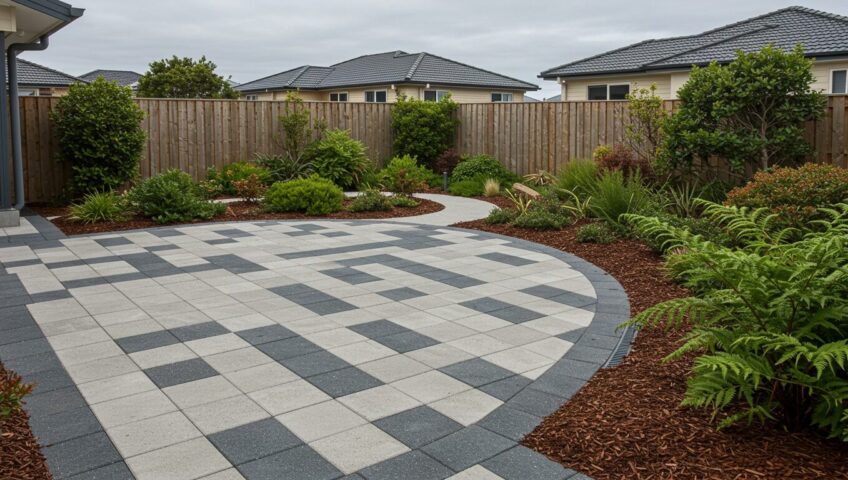
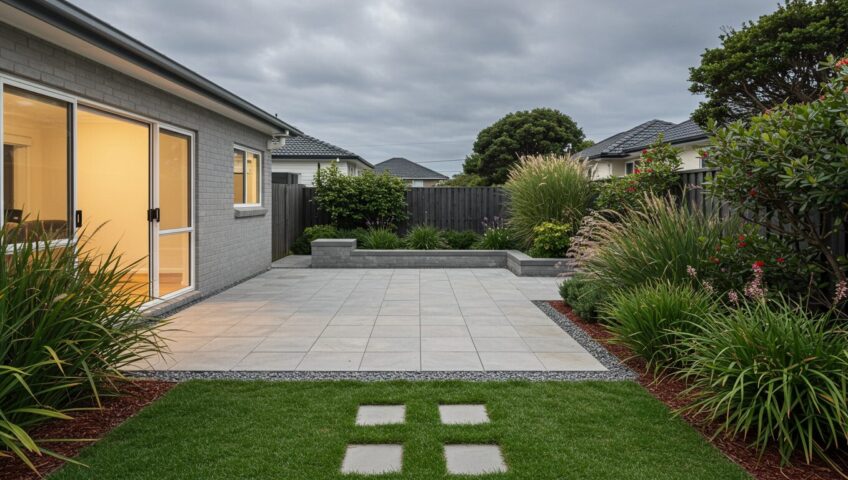
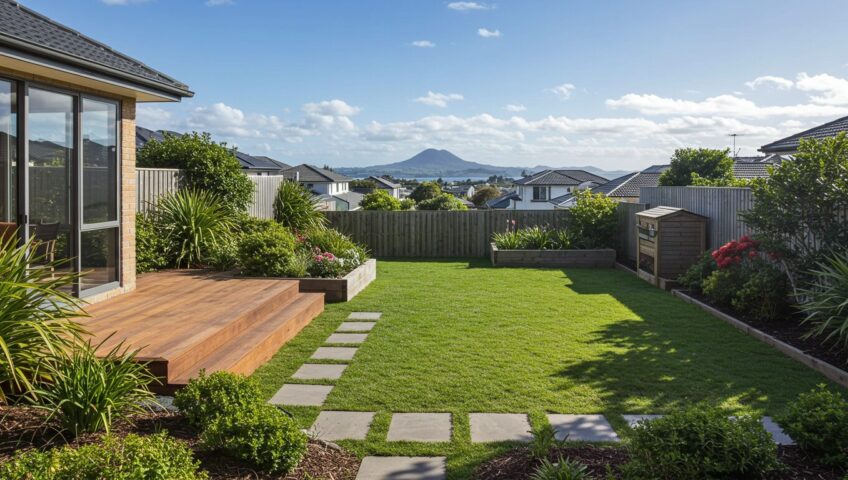
Landscape Design Considerations in Auckland
When planning landscaping in Auckland, keep in mind: Address drainage in clay soils with soakage or French drains; maximise north-facing sun and use planting or fencing for wind protection; use retaining walls or terraces for steep sites.
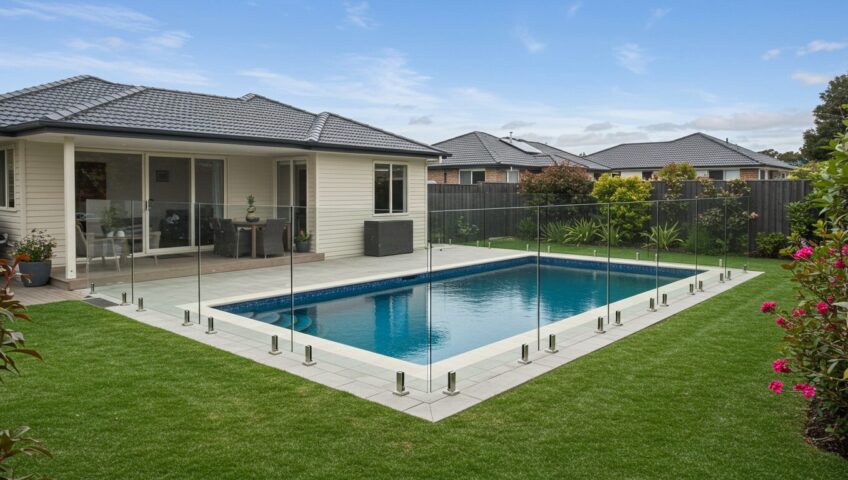
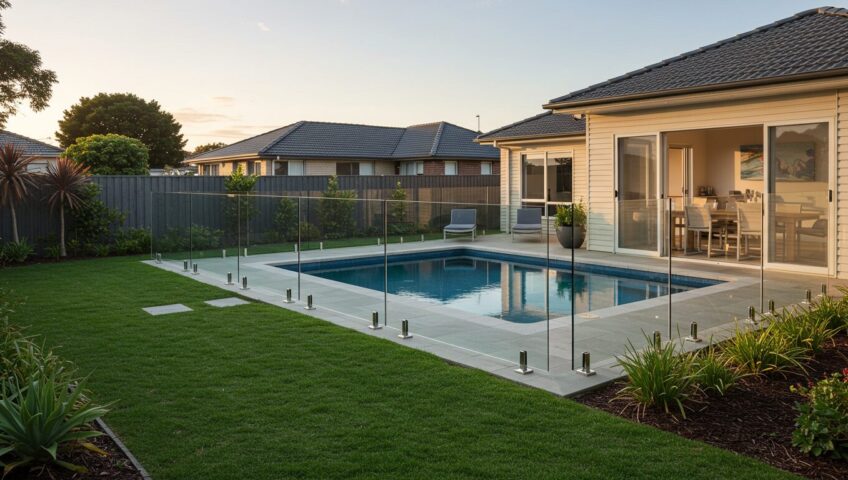
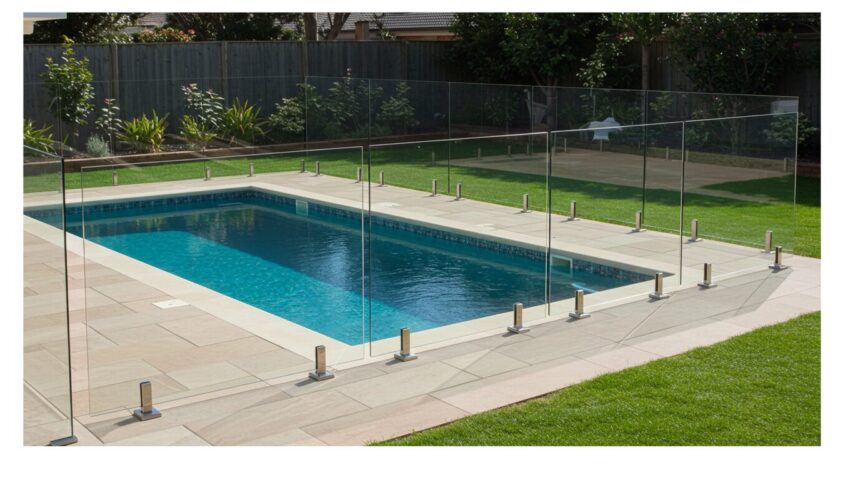
Popular Auckland Landscaping Features:
Timber decks for entertaining
Natural stone pathways and patios
Rain gardens and permeable paving for stormwater control
Edible gardens with raised beds
Sustainable Landscaping Practices
Sustainability is increasingly important for Auckland homeowners. Consider incorporating:
Compost bins and worm farms to reduce food waste
Mulching to retain moisture and suppress weeds
Smart irrigation systems to minimise water use
Rainwater tanks to harvest water for garden use
Not only do these choices help the environment, but they also reduce long-term maintenance and water costs.
Frequently Asked Questions (FAQs) About Landscaping in Auckland
- What are the best plants for Auckland’s coastal gardens?
Pōhutukawa, griselinia, and coprosma thrive in salty, windy coastal environments—ideal for beachside gardens.
- When is the best time to landscape in Auckland?
Autumn and early spring suit planting, thanks to steady rain and mild temperatures. Avoid planting in peak summer without irrigation.
- Do I need council consent for landscaping work?
Minor landscaping usually doesn’t need consent. Retaining walls over 1.5 metres or stormwater changes may need Auckland Council approval.
- How much does landscaping cost in Auckland?
Costs for landscaping in Auckland depend on the specific work required and the size of your property. For example, a small garden revamp may cost between $3,000 and $8,000, covering basic planting and minor features. Larger projects with comprehensive design-and-build services can range from $15,000 to $50,000 or more, especially if structural elements or extensive site work are involved. These are general estimates; actual costs may differ based on site conditions and material choices.
- Is it worth hiring a professional landscaper in Auckland?
Yes. Professionals are best for complex sites, drainage, or council regulations. They know local conditions and design lasting solutions.
Final Thoughts
Whether adding value to a home or creating a sanctuary for family, landscaping in Auckland is both a creative and practical investment. By understanding the region’s unique climate and choosing the right plants and design features, anyone can build an outdoor space that’s beautiful, sustainable, and truly local.